Ever wondered why some creators gain millions of followers while others struggle to get views? The answer often lies in proper setup before hitting the upload button. With over 2.7 billion monthly active users, YouTube offers endless opportunities for businesses and individuals alike.
Building a presence on this platform requires more than just great content. You need a clear strategy from day one. This guide walks you through the essential steps—from setting up your account to optimizing for growth.
Creating a channel is free and accessible to everyone. Whether you choose a personal or brand account, the foundation you lay now determines future success. Let’s dive into the six key steps every new creator should follow.
Key Takeaways
- YouTube requires a Google Account for basic interactions.
- Channel creation is free and open to all users.
- Personal and brand accounts serve different purposes.
- Proper setup precedes successful content creation.
- The platform boasts 2.7 billion monthly active users.
1. Set Up Your Google Account and YouTube Channel
Your journey starts by selecting the perfect account type for your goals. A Google Account is required to interact with YouTube, whether liking videos or uploading content. This step lays the groundwork for your channel’s identity and future growth.
Choose Between a Personal or Brand Account
Personal accounts link directly to your Google profile. They’re ideal for individual creators who manage their content alone. Brand Accounts allow multiple managers, making them better for teams or businesses.
Supervised accounts (like those for minors) have restrictions. They can’t upload videos or use certain features. Always verify account type flexibility before proceeding.
Step-by-Step Channel Creation
On desktop, navigate to YouTube Settings > Add or manage channels. Select Create channel and choose a name. Handles (@name) must be unique—check availability early.
Mobile users follow similar steps via the YouTube app. Note: Once you confirm “Create channel,” the action can’t be undone. Pick a name aligned with your niche for better discoverability.
Brand Accounts require extra setup. From your channel list, select “Create new channel” and assign managers during the process. Consistency in naming strengthens brand recognition.
2. Customize Your Channel’s Appearance
First impressions matter—your channel’s visual identity shapes viewer perception instantly. A cohesive design builds credibility and helps your content stand out. Focus on three core elements: visuals, description, and handle.
Upload a Profile Picture and Banner
Your profile picture (800x800px) appears on comments and recommendations. Use a high-resolution logo or headshot for brand recognition. The banner (2560x1440px) showcases your niche—include a call-to-action or upload schedule.
Design for all devices. Test how images crop on mobile. Consistent colors and fonts across platforms reinforce your brand.
Write an Engaging Channel Description
The “About” section explains what viewers gain from your content. Add keywords naturally, like “travel vlogs” or “tech reviews.” Keep it concise—highlight your unique value in 1–2 sentences.
Brand Accounts should list team members or business details. Update links to social media or websites here. A clear description boosts search visibility.
Choose a handle (@name) wisely. It becomes part of your URL and affects discoverability. Avoid numbers or complex spellings—simple is memorable.
3. Plan Your Content Strategy
72% of top creators credit their niche focus for consistent audience growth. Tutorials, product reviews, and vlogs dominate successful categories. A strategic approach ensures every upload aligns with long-term goals.
Identify Your Niche and Target Audience
Narrowing your focus boosts discoverability. Use tools like Google Trends or VidIQ to analyze search volume and competition. For example, “beginner guitar tutorials” outperforms broad terms like “music videos.”
Develop audience personas. Consider age, interests, and pain points. A gaming channel might target teens seeking quick tips, while cooking videos could appeal to busy parents.
Create a Content Calendar
Batch filming saves time. Dedicate days to recording multiple videos, then schedule releases. Seasonal topics (holiday recipes, back-to-school tech) should be planned months ahead.
Repurpose content across platforms. Turn a tutorial into Instagram Reels or blog posts. Analytics reveal top-performing topics—double down on what resonates.
Balance consistency with flexibility. Posting weekly builds trust, but leave room for trending topics. Tools like TubeBuddy suggest optimal upload times based on your audience’s experience.
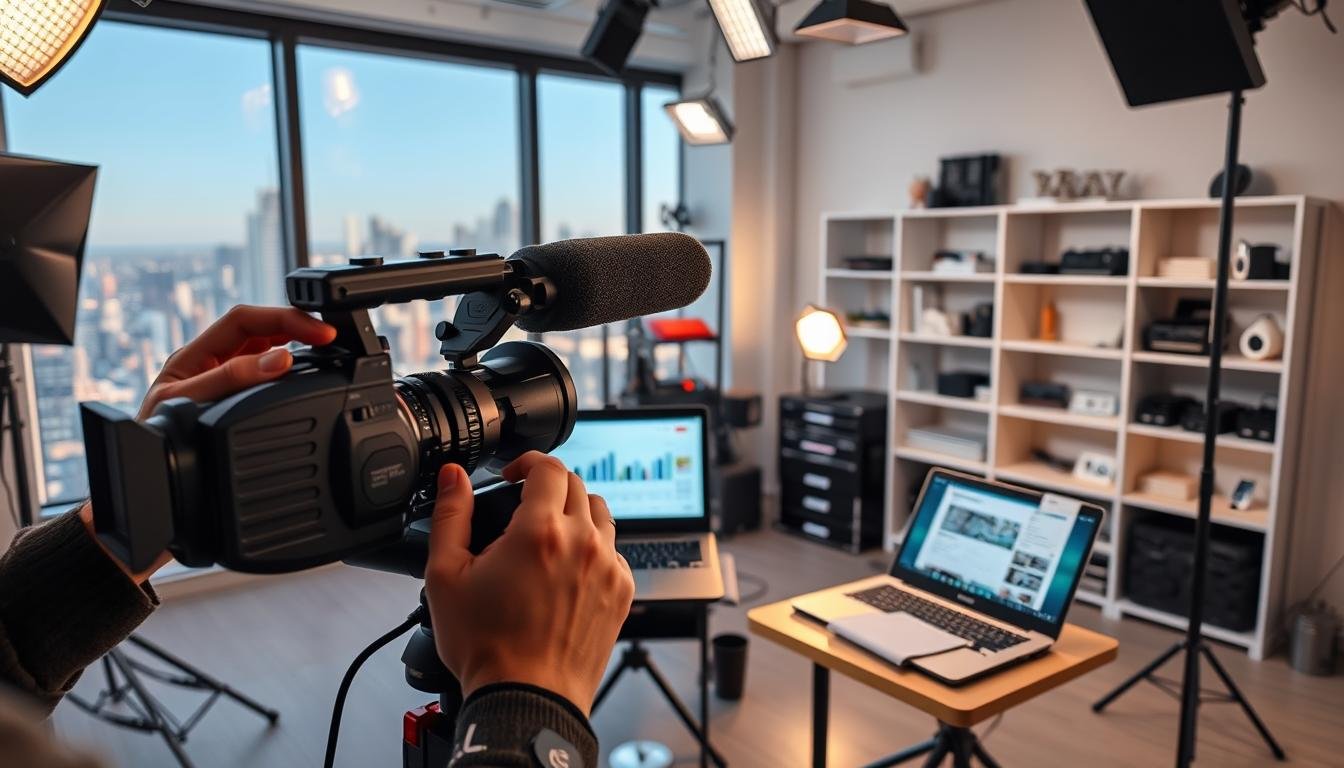
4. Gather Essential Equipment for Recording
Quality videos don’t require expensive gear—smart choices make all the difference. Beginners can achieve professional results with minimal investment. Focus on three pillars: capture, audio, and lighting.

Starter Gear: Cameras, Microphones, and Lighting
Modern smartphones rival DSLRs for 1080p recording. iPhones and Android devices offer stabilization and manual controls. Pair them with a $20 tripod for steady shots.
Audio quality trumps video resolution. Lavalier mics clip to clothing and reduce background noise. For under $50, they’re a game-changer for clear dialogue.
Soft lighting eliminates harsh shadows. LED panels or DIY solutions like white curtains diffuse natural light. Position lights at 45-degree angles for depth.
Free/Affordable Editing Software Options
DaVinci Resolve offers Hollywood-grade color correction for free. Its intuitive interface suits beginners. Shotcut is another open-source option with no watermarks.
Canva simplifies thumbnail design with drag-and-drop templates. Use bold text and high-contrast colors for clickability. These tools streamline post-production without costing a dime.
Upgrade gear gradually. Start with a $100 kit, then expand to $500 setups as your channel grows. Prioritize audio first—viewers forgive pixelated videos faster than bad sound.
5. Upload and Optimize Your First Video
Optimization separates trending videos from overlooked uploads. Every detail—from titles to thumbnails—impacts discoverability. Strategic tweaks help your content reach the right audience.
Best Practices for Titles, Descriptions, and Tags
Keep titles under 60 characters. Front-load keywords like “easy guitar tutorial” for search visibility. Use YouTube’s autocomplete to find trending phrases.
The first 200 characters of your description appear in search results. Include a clear value proposition and links to your channel. Add 3–5 relevant hashtags (#BeginnerFriendly) below.
Tags refine YouTube’s algorithm understanding. Mix broad terms (“fitness”) with specifics (“home workouts for beginners”). Avoid misleading tags—they hurt long-term performance.
Design Eye-Catching Thumbnails
Custom thumbnails boost click-through rates. Use high-contrast colors and bold text. Tools like Canva offer templates sized at 1280x720px.
A/B test designs with Thumbnail Test. Faces and emotions often outperform static images. Ensure readability on mobile screens.
Add closed captions for accessibility and SEO. Chapter markers let viewers skip to key sections. End screens with subscribe prompts extend watch time.
6. Grow and Engage Your Audience
Engagement transforms casual viewers into loyal subscribers. Channels that actively interact see 35% higher retention rates. Focus on promotion and community-building to turn passive watchers into advocates.

Promote Videos Strategically
Share videos across social media with tailored captions. Instagram Reels and TikTok can drive traffic to longer YouTube content. Use trending hashtags to expand reach.
Convert Shorts viewers to long-form fans. Add end screens linking to related uploads. Collaborate with creators in your niche for cross-promotion during live streams.
Foster Community Interaction
Respond to comments within 24 hours. Ask questions to spark discussions—viewers who feel heard return often. Pin top comments to highlight valuable contributions.
Organize videos into themed playlists to boost watch time. Offer channel memberships or Super Chat for exclusive perks. Discord servers deepen connections with dedicated fans.
Prevent copyright strikes by using royalty-free music. Credit sources in descriptions. A thriving channel balances growth with authentic viewer experience.
Conclusion
Launching a successful YouTube channel involves six key steps—setup, customization, strategy, equipment, optimization, and engagement. Each phase builds toward long-term growth.
Focus on consistency rather than perfection. Review analytics weekly to spot trends. Track progress toward YouTube Partner Program requirements like 1,000 subscribers and 4,000 watch hours.
Refine videos based on performance data. Small tweaks in thumbnails or titles can boost visibility. The best creators evolve their content through experimentation.
Ready to share your voice? Hit upload and learn from the experience. Your first video starts the journey—improve with each new release.
FAQ
Do I need a Google account to create a YouTube channel?
Yes, a Google account is required. Sign in to YouTube using your Gmail credentials to begin setting up your channel.
What’s the difference between a personal and brand account?
A personal account uses your name, while a brand account allows customization with a business or alias. Brand accounts support multiple managers.
How do I upload a profile picture and banner?
Go to your channel’s customization settings. Click “Edit” on your profile section to upload images. Use high-resolution files for clarity.
Why is a content calendar important?
Consistency boosts growth. A calendar helps schedule uploads, track ideas, and maintain engagement with your audience.
What basic equipment do I need for recording?
Start with a smartphone or budget camera, a lapel mic, and natural lighting. Free tools like DaVinci Resolve work for editing.
How can I optimize my video for search?
Use clear titles, detailed descriptions with keywords, and relevant tags. Custom thumbnails increase click-through rates.
Should I promote videos on social media?
Yes. Sharing on platforms like Instagram or Twitter expands reach. Engage with viewers by replying to comments for community growth.
Can I change my channel name later?
Absolutely. Update it anytime via YouTube Studio under “Customization” > “Basic info.” Keep it memorable and aligned with your content.